
HOW TO RECORD ON TO A USB FROM THE CV SOUND DESK

Step 1 - Get USB
Get a USB. This should either be handed to you, or be found in the camera bag. Spares are available stored with the CV Computer.
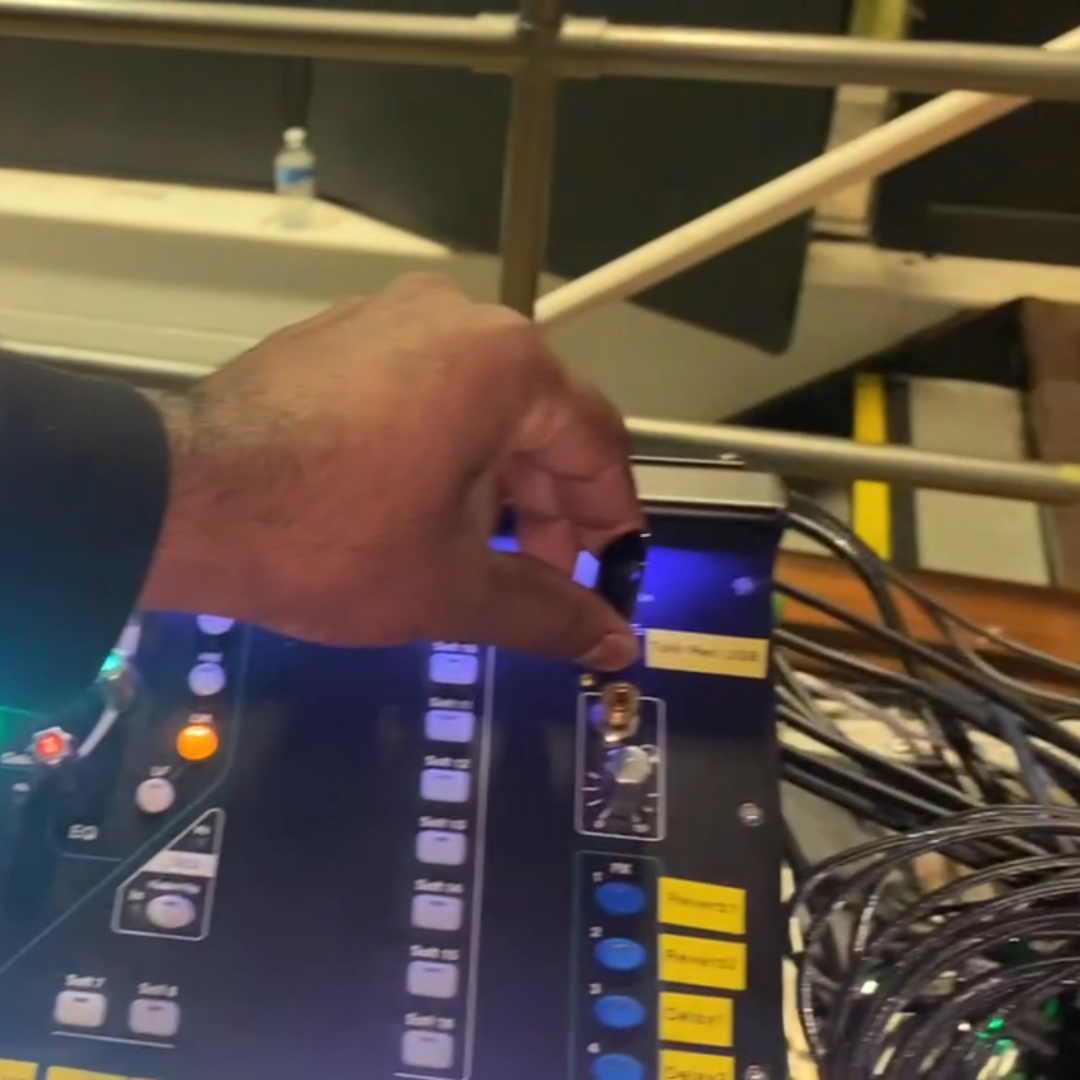
Step 2 - Insert USB into “Talk Rec USB”
Insert the USB Drive on the top right port of the mixer, labeled "Talk Rec USB"

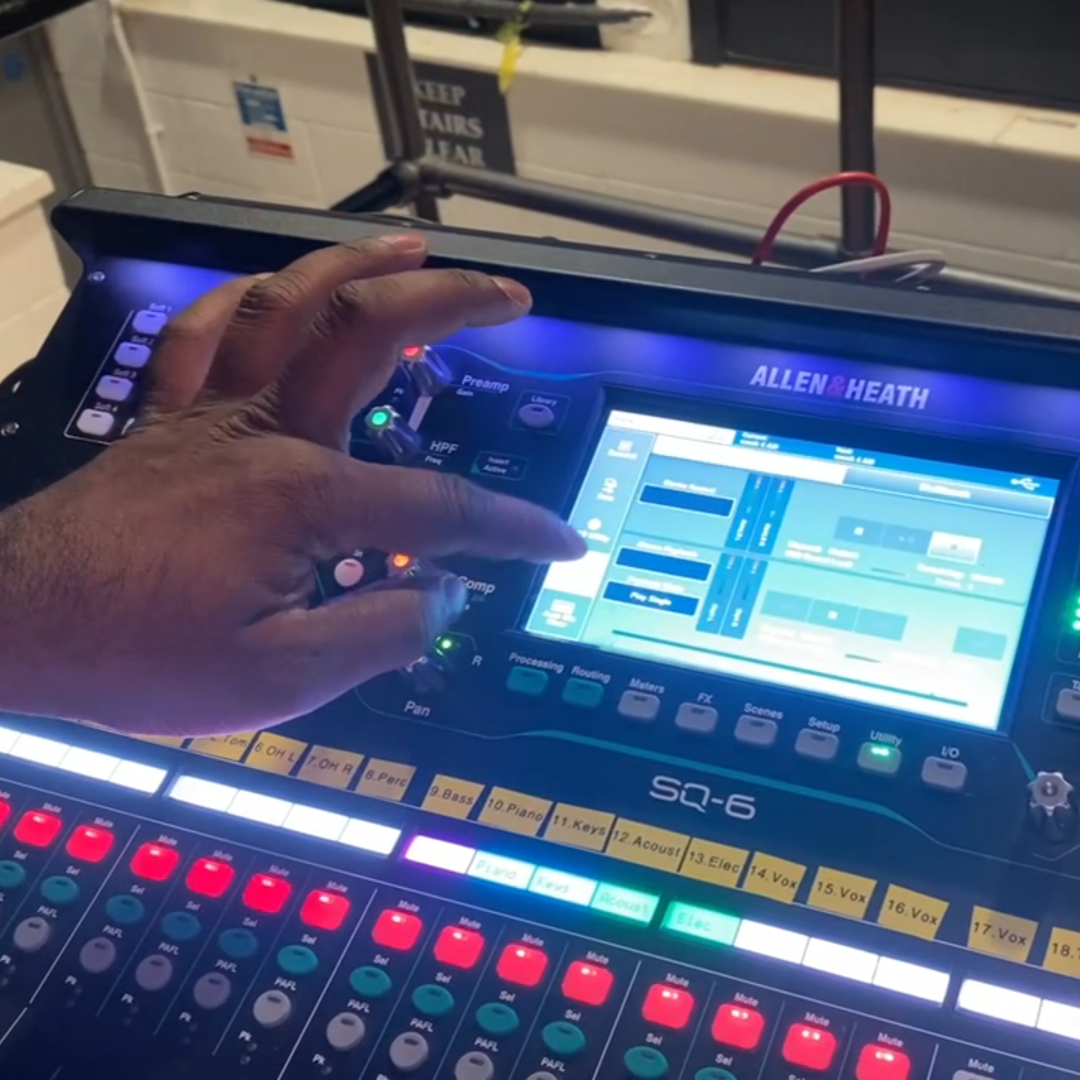
Step 3 - Press “Utility” Button
Press the "Utility Button" It is among the main control buttons. A menu will appear with several options: General, Data, USB, and SQ Drive.
Step 4 - Press “SQ Drive”
This is the menu used for recording.

Step 5 - Press “Record”
This is the menu used for recording.

Step 6 - Press “Play”
Next press the "play" button. You will now see a red circle appear on the screen, indicating that the recording has started.

Step 7 - Double Check the Red Circle Is Displaying
You should now see a red circle appear on the screen, indicating that the recording has started.

Step 8 - When the talk or service is finished, press “Stop”
This will end the recording process.
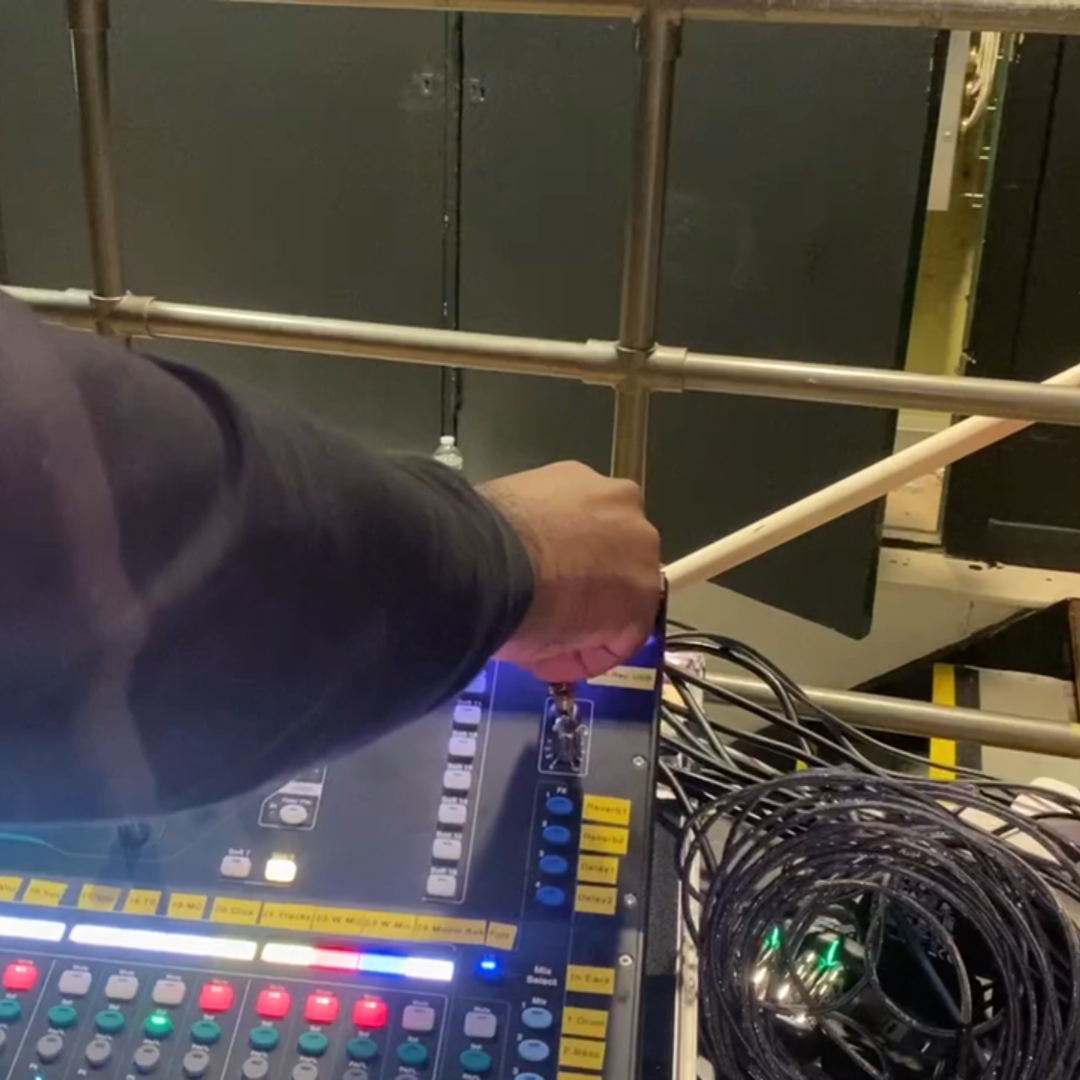
Step 9 - Remove USB and give to CV Staff / Office Run
Remove the USB and ensure that it is passed to a CV staff member or someone who will return it to the CV Office..